


Ok – this year has been crazy. My oldest started Kindergarten this year, and I’d be lying if I said that I was a little bummed that she wouldn’t be getting to experience any type of “end of the year” celebration of finishing Kinder and moving onto 1st grade.
This entire last 3.5 months of home schooling and keeping her focused on home work, and her extra curicular activies has definitely tested our relationship, and through it all I’m proud of what we did, and getting her through her first year of Elementary school. So is it wrong that I want to celebrate that?
I looked online for some DIY tutorials for paper caps, and some were overly complicated, and also too small. (My daughter wears a women’s small helmet for her bike…) So I make up my own pattern and wanted to share that with you!


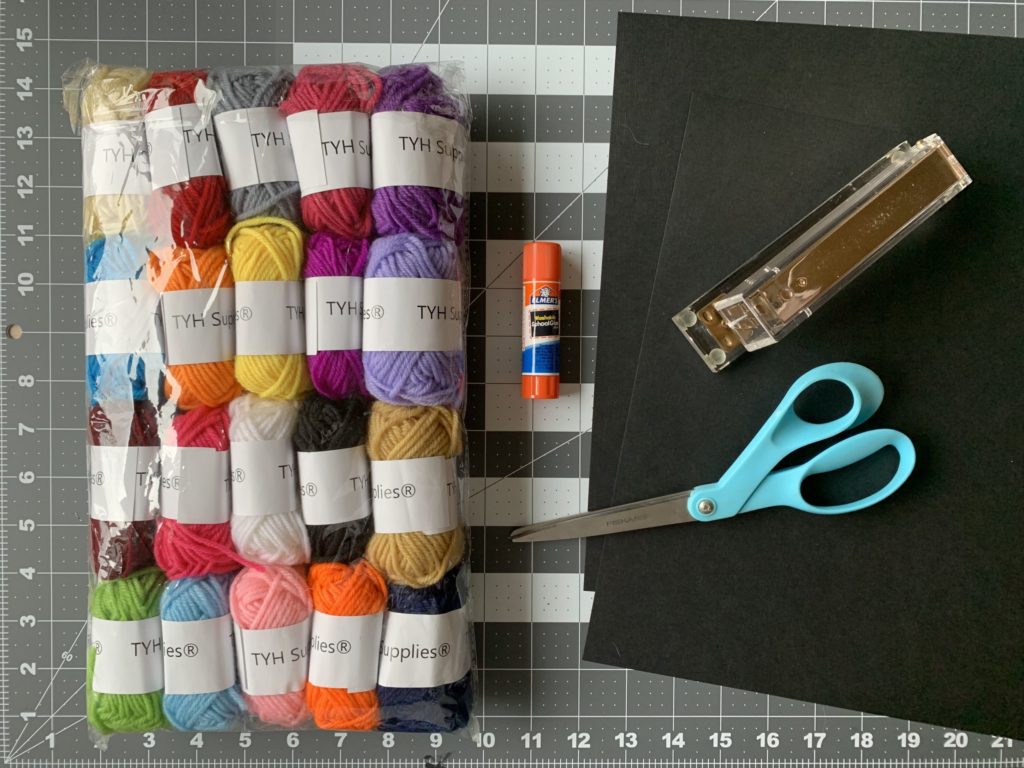
What you’ll need:
- 2 pieces of 12×12 black scrapbook paper
- Yarn (any color you like)
- Scissors
- Ruler
- Glue Stick
- Hot Glue Gun (not pictured below, but needed)
- Stapler
————————————————————————————————-
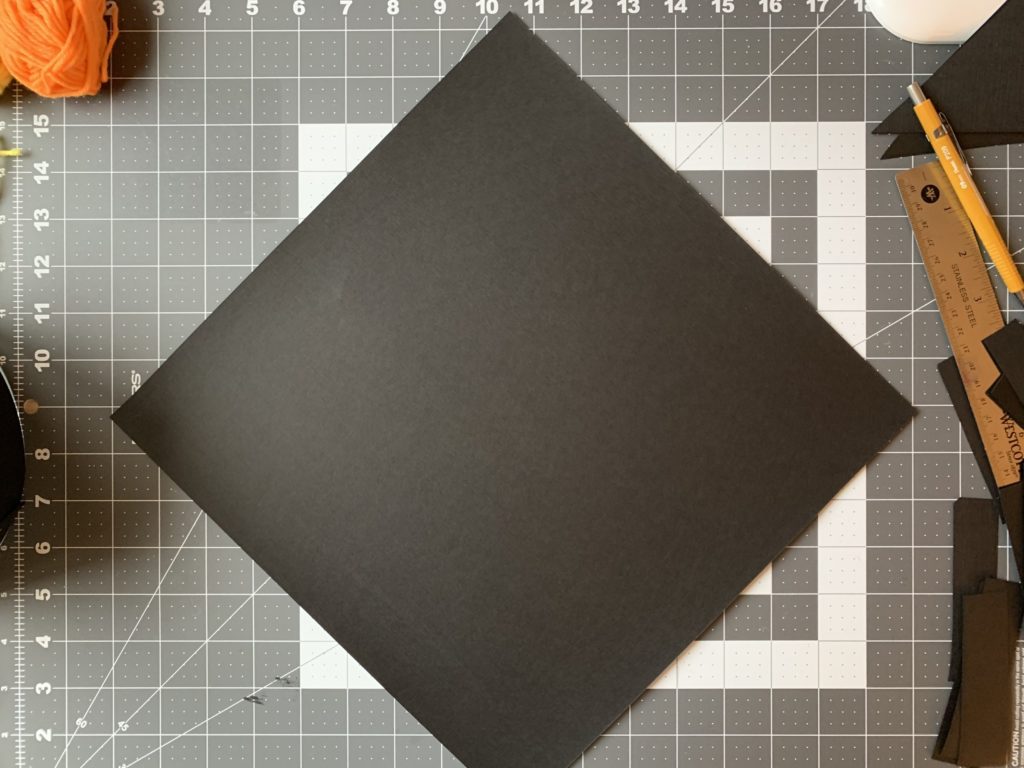
STEP ONE
Take 1 of your 12×12 papers and put it aside.
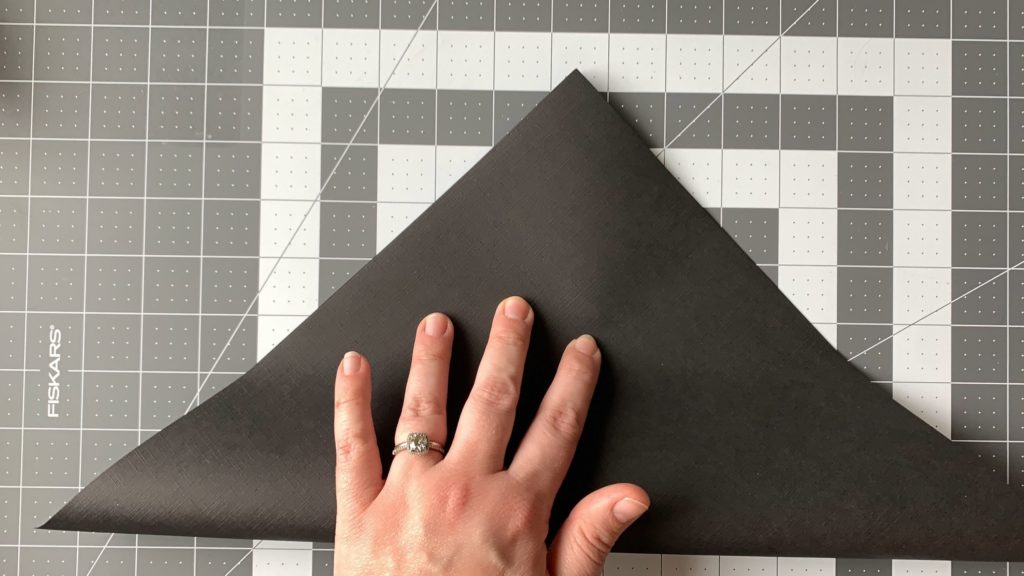
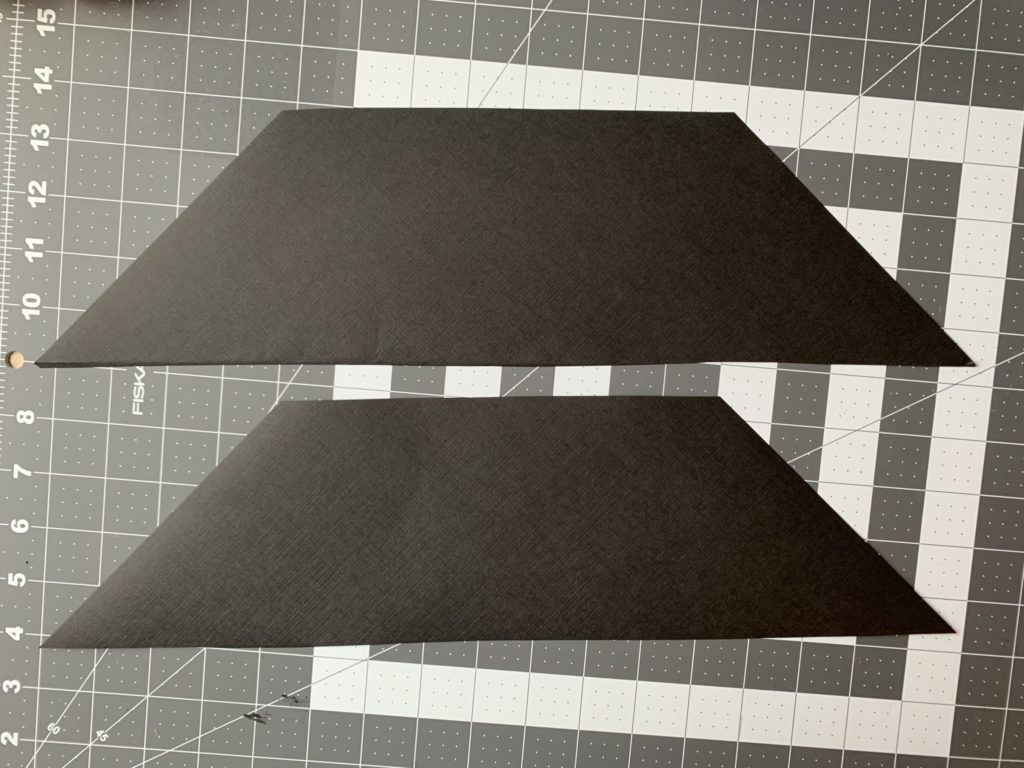
Take the other 12×12 paper and fold it in half diagnoly.
Then turn it to the side so the point of the triangle is facing right.
Measure 4.5 inches from the longest side of the triangle to the point.
Then draw a straight line cutting the point off.
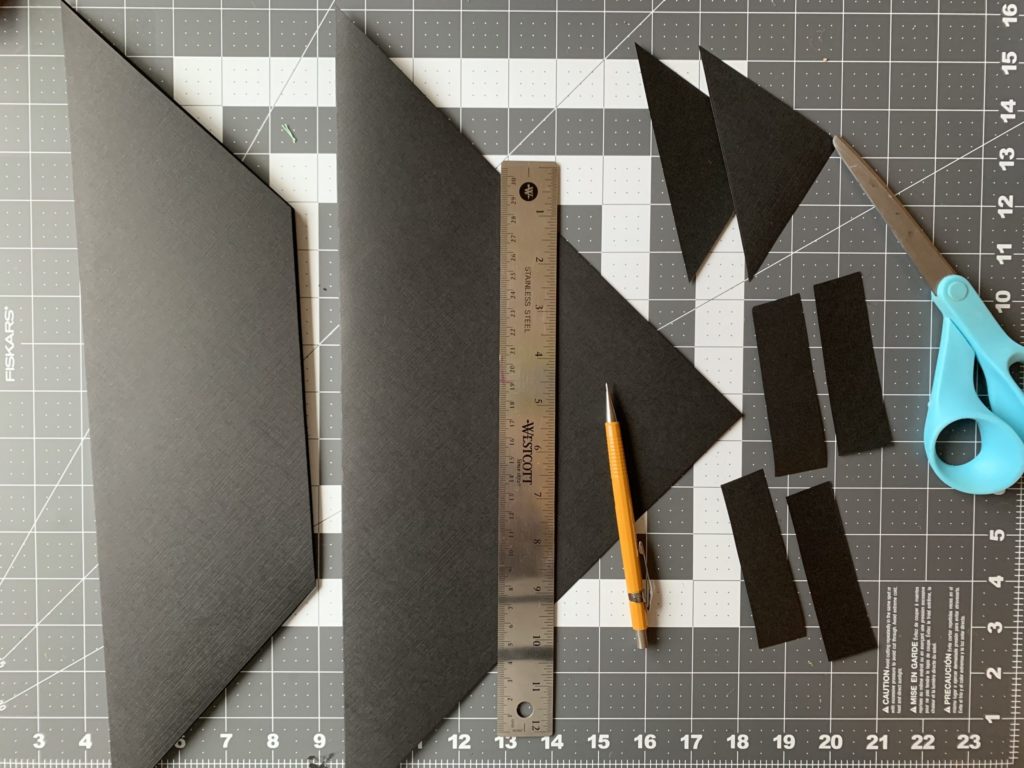
Take 1 of the triangle shapes and cut it in half to make 2 tiny triangles, and save them for Step 6
Then take the larger triangle, and put it aside to save that for Step 4
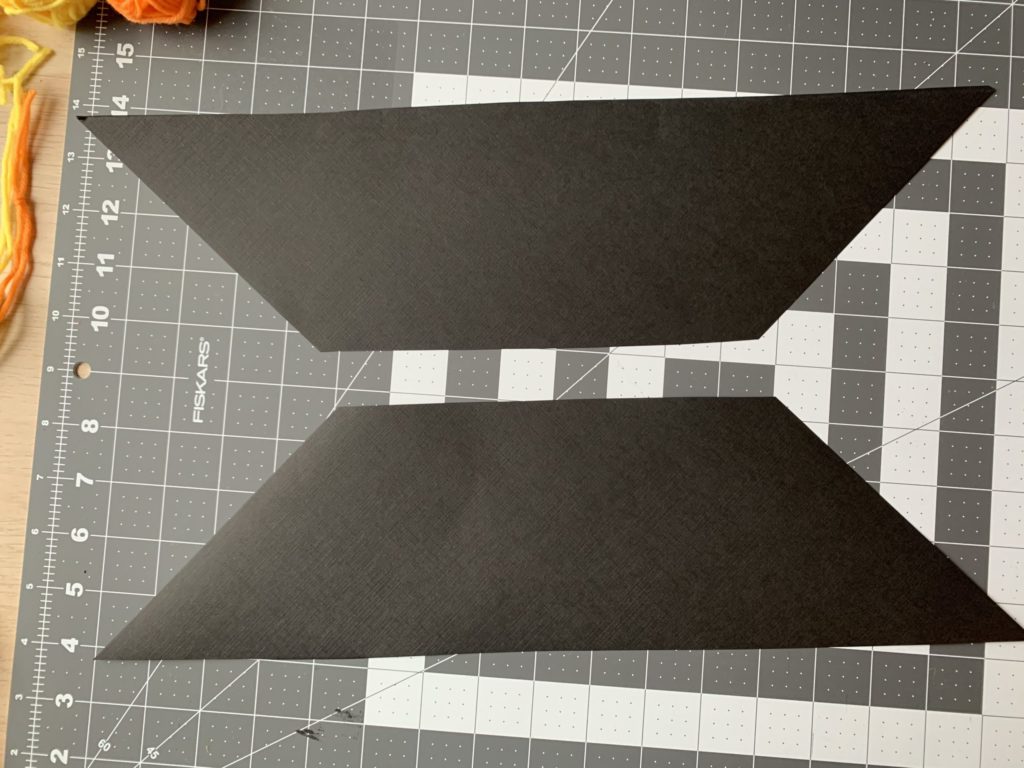
STEP TWO
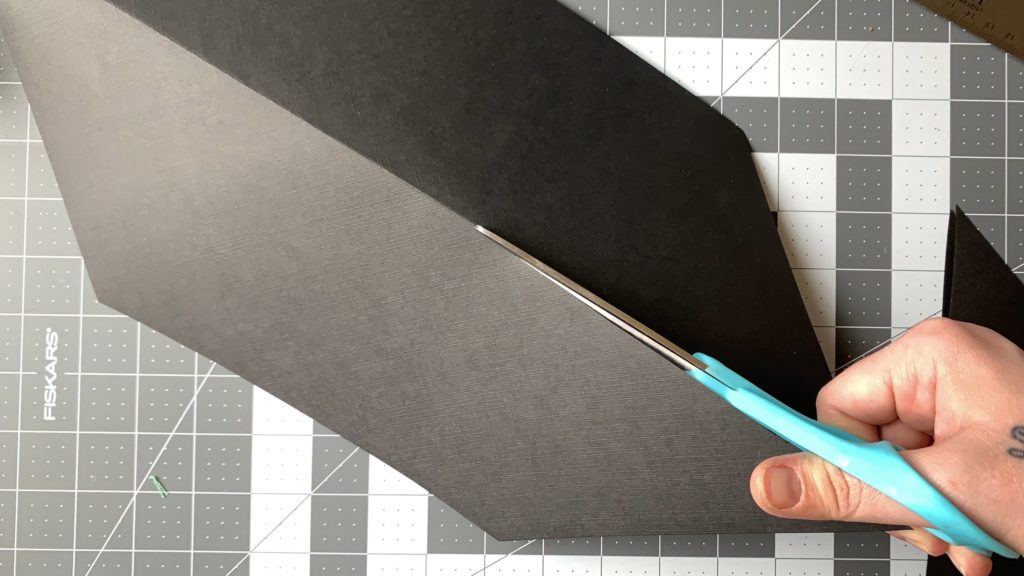
Unfold the shape you have left.
And cut along the folded line, creating 2 trapezoid shapes.
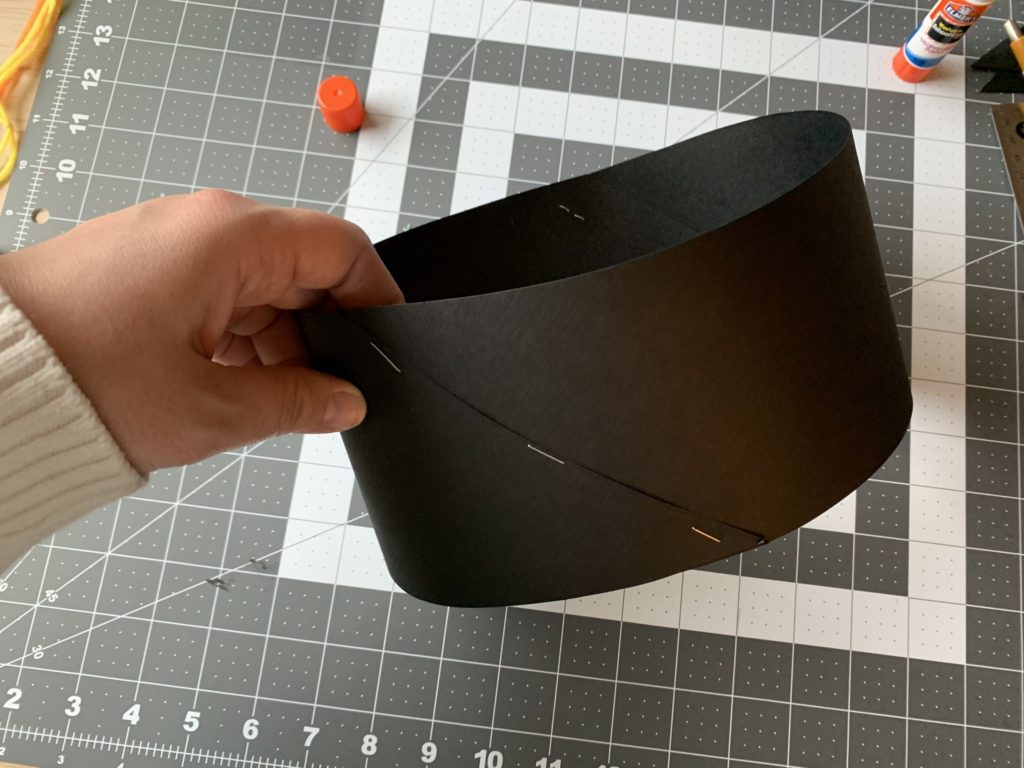
STEP THREE
Lay the 2 trapezoid shapes flat with the shortest side facing up.
Then take 1 of the pieces and rotate to the shortest side is facing down.
Line up the diagonal edges.
Use your glue-stick to attach the two sides.
(This will help keep the pieces together, and give it extra hold beyond just the staples).
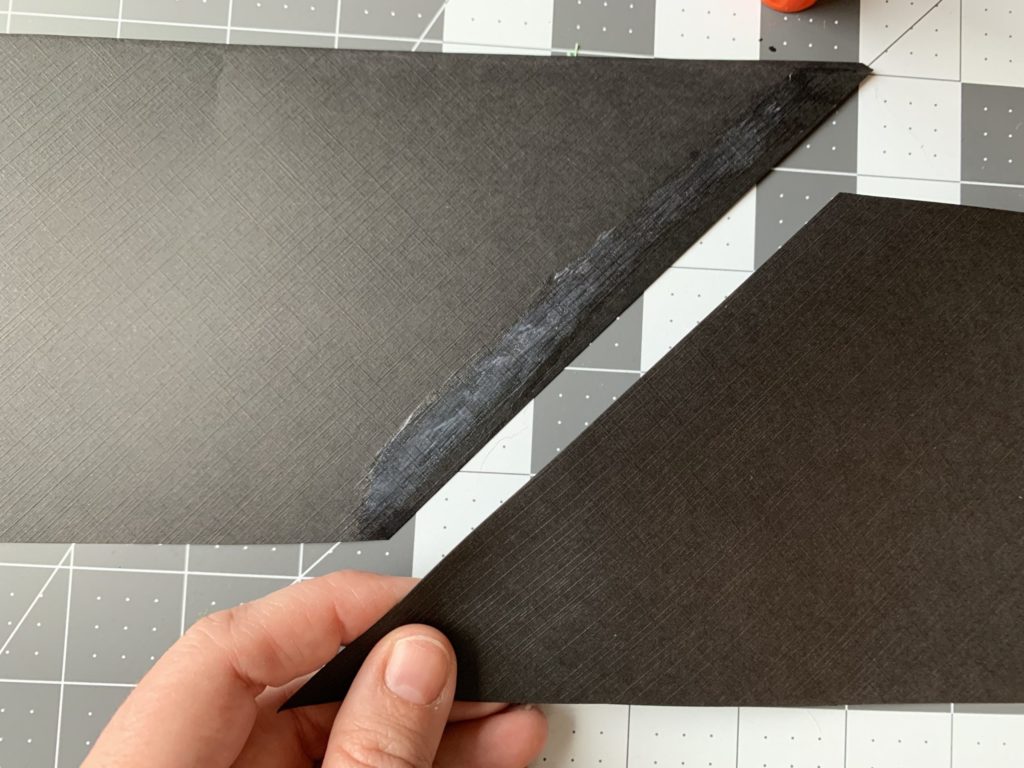
Then staple 3 times. (both edges and then one in the center.)
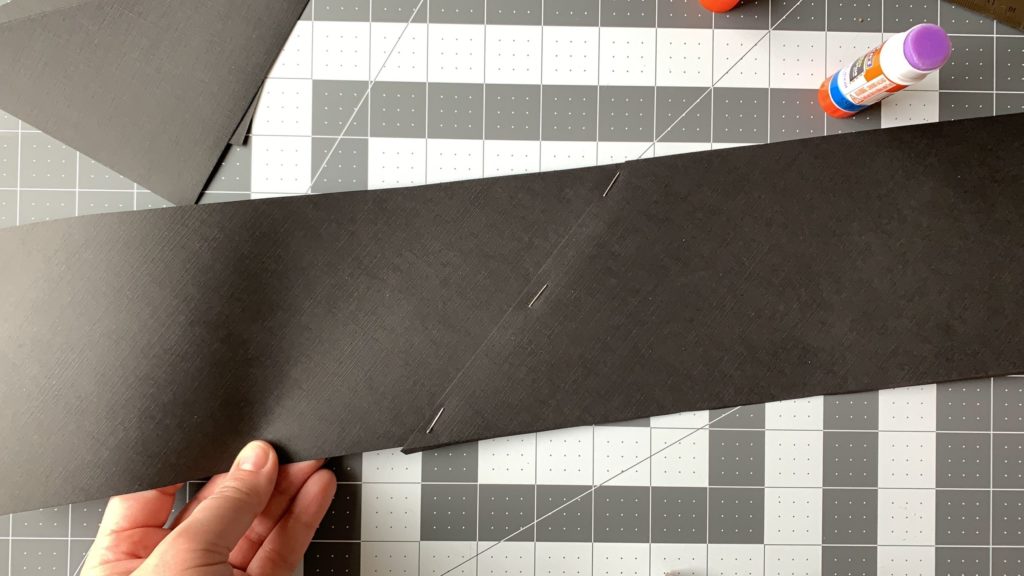
Repeat the gluestick/stapling to the other end..
NOTE: This is where you’ll want to wrap it around your kiddos head to size it accordingly.
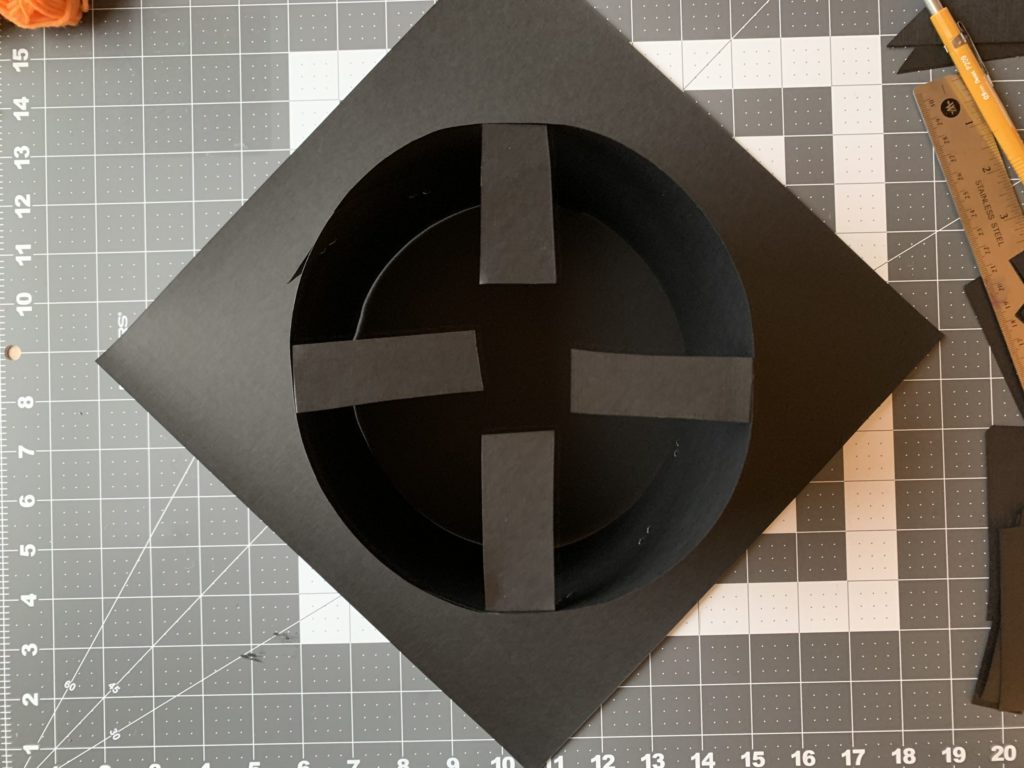
STEP FOUR
Take your 2 tiny triangles you cut off earlier. And cut out 4 rectangle shapes.
(These don’t have to be the same length but try to get 3 long rectangular shapes out of 1 triangle and 1 out of the 2nd triangle).
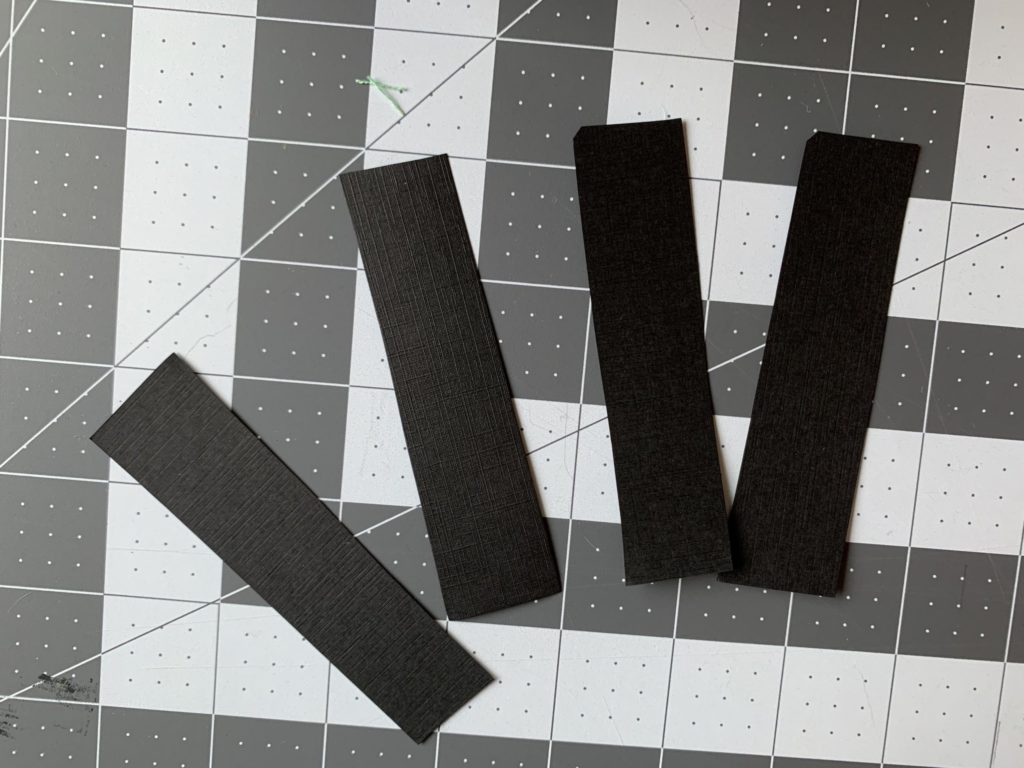
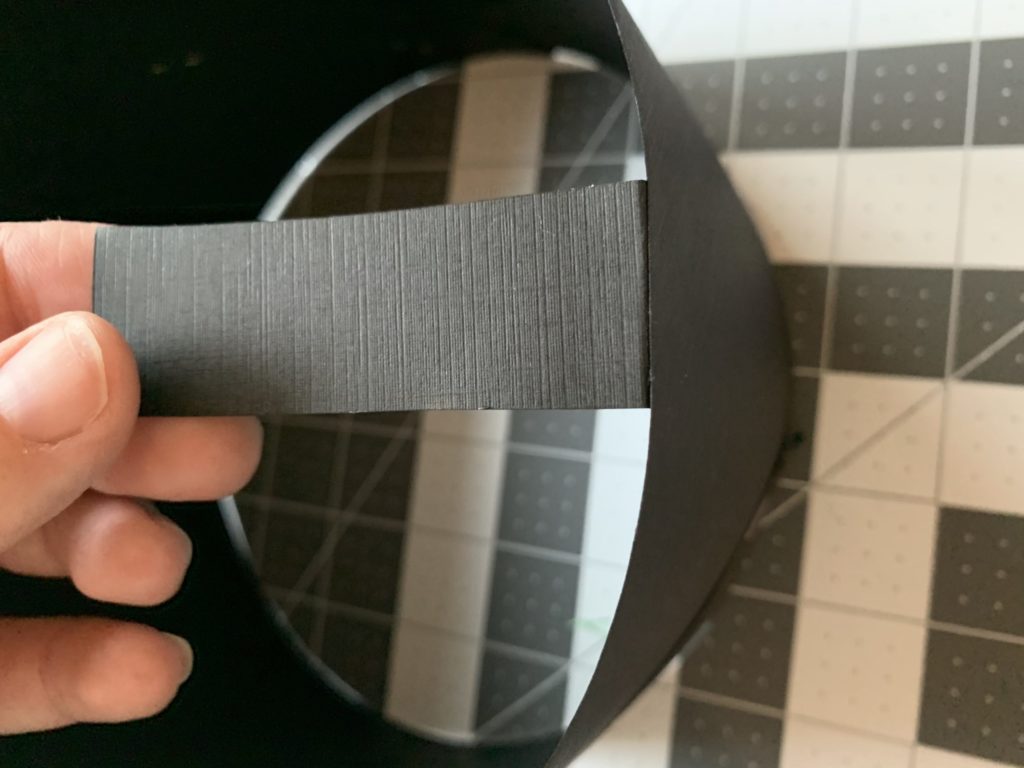
Fold the 4 pieces 1/3 of the way as you can see below:
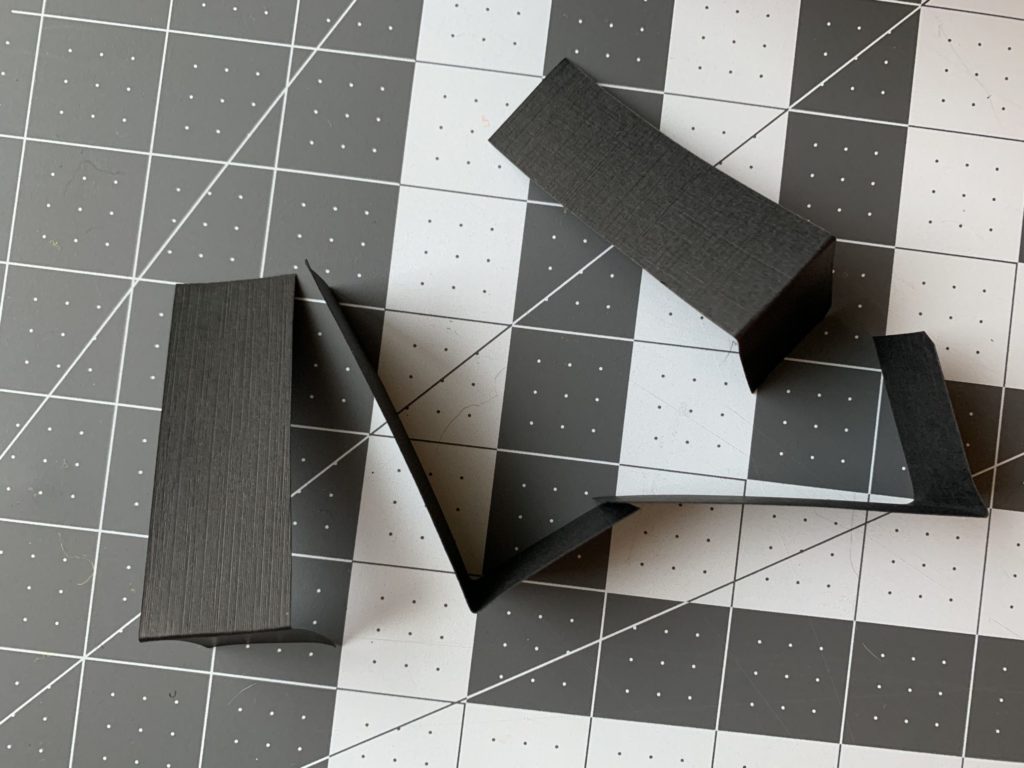
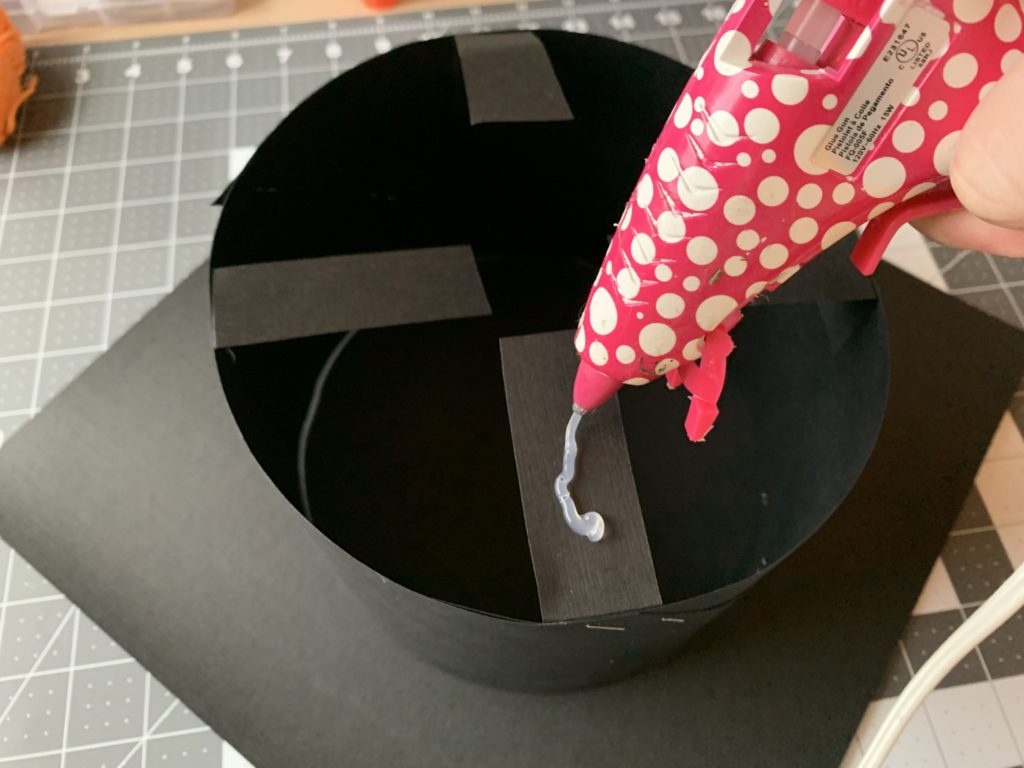
Then glue and staple the shortest end around the round circle shape you made earlier. Make sure to do this to all 4 sides of the circle ( think at 12 o’clock, 3 o’clock, 6 o’clock and 9 o’clock) 🙂
It should look like this:
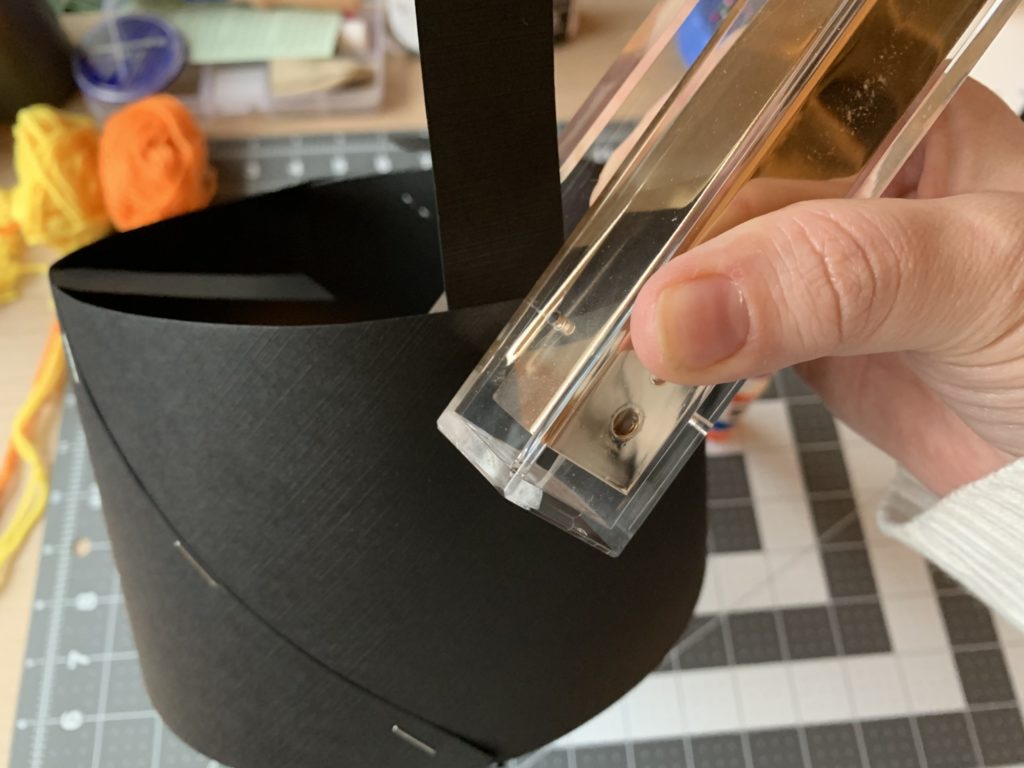
STEP FIVE
Take your 2nd piece of 12×12 paper and lay it flat on your table, rotated so you have a point facing you like a diamond.
Use your glue gun to add glue to the flaps you created on the base of the cap. (These are to create support and something for the top of the cap to attach to.)
Make sure to move quickly so the glue doesn’t harden before you can attach the base to the top.
Turn the base of the cap upside down and center it into the square.
Then quickly press the flaps down so it attaches to the cap top.
STEP SIX
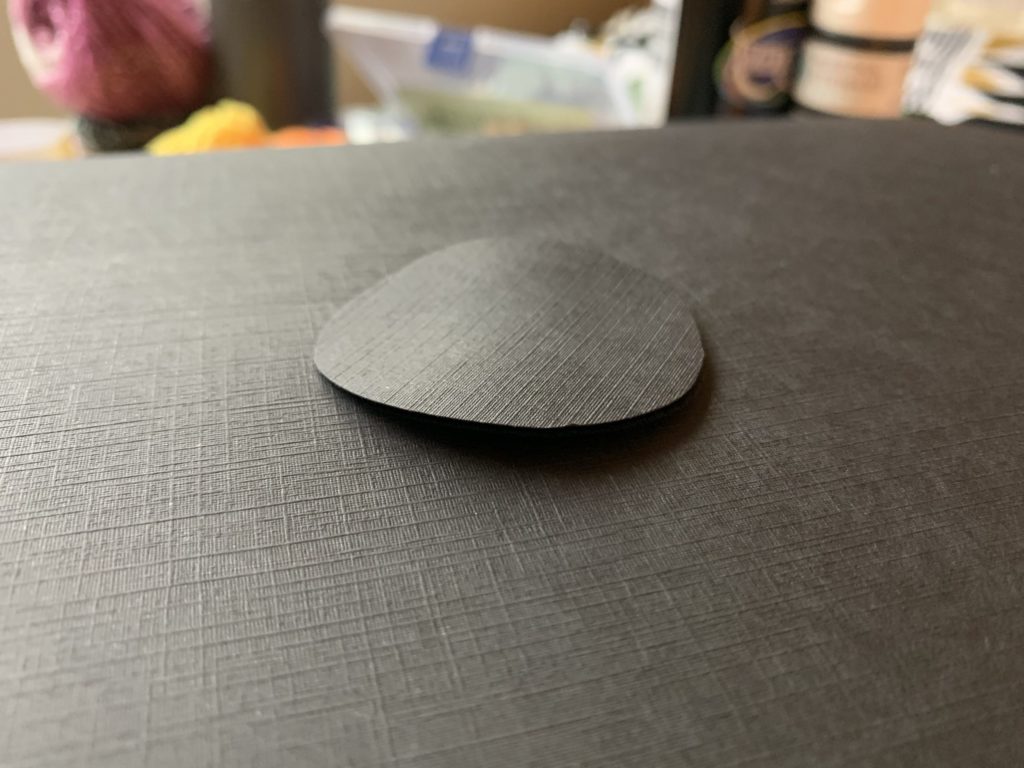
Take your remaining extra paper from the tiny triangles you cut out earlier, and you’ll want to cut out a circle shape from them. You can use something to create a trace a circle shape and then cut out. You’ll want them to be about 1.5 inches wide.
Use your hot glue gun to add a glue “dot” in the middle only.
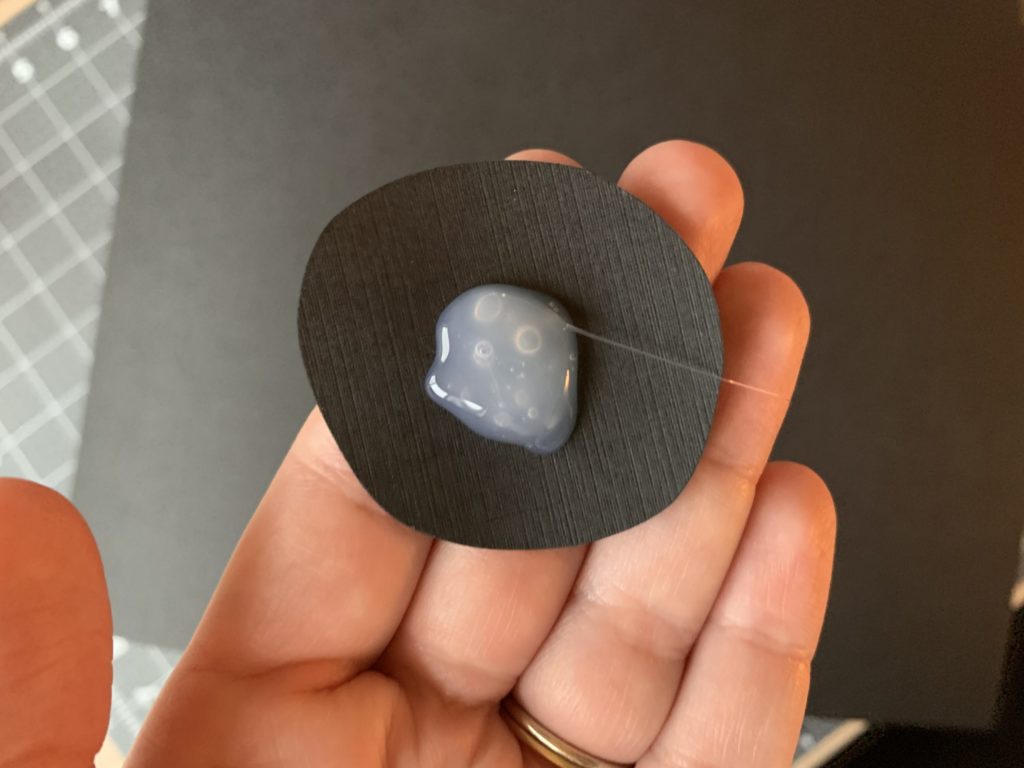
You’ll want to leave the outside of the circle free of glue so your tassle can wrap around this part.
Also DO NOT PRESS down on the dot, or you’ll risk pressing the glue flat, and you want the cirlce to have a little lift so it sticks up above the top of the cap a little bit. This also makes it easier to have space to add the tassle.
STEP SEVEN
Time to make your tassel!
I used yarn of any color and wrapped it to be a 6″ tassel.
You can use a piece of cardboard or anything similar that is about 6″ wide, and then wrap the yarn around the cardboard several times to create enough thickness for your tassel.
Use part of the yarn to tie off part of the top about an inch below one of the loops.
Cut the base of the other loop so its just loose straight pieces of yarn.
Take another piece of yarn about 24″ in length, and fold it in half.
You can skip ahead to find the video example of how to make a tassel with yarn here (@02:15):
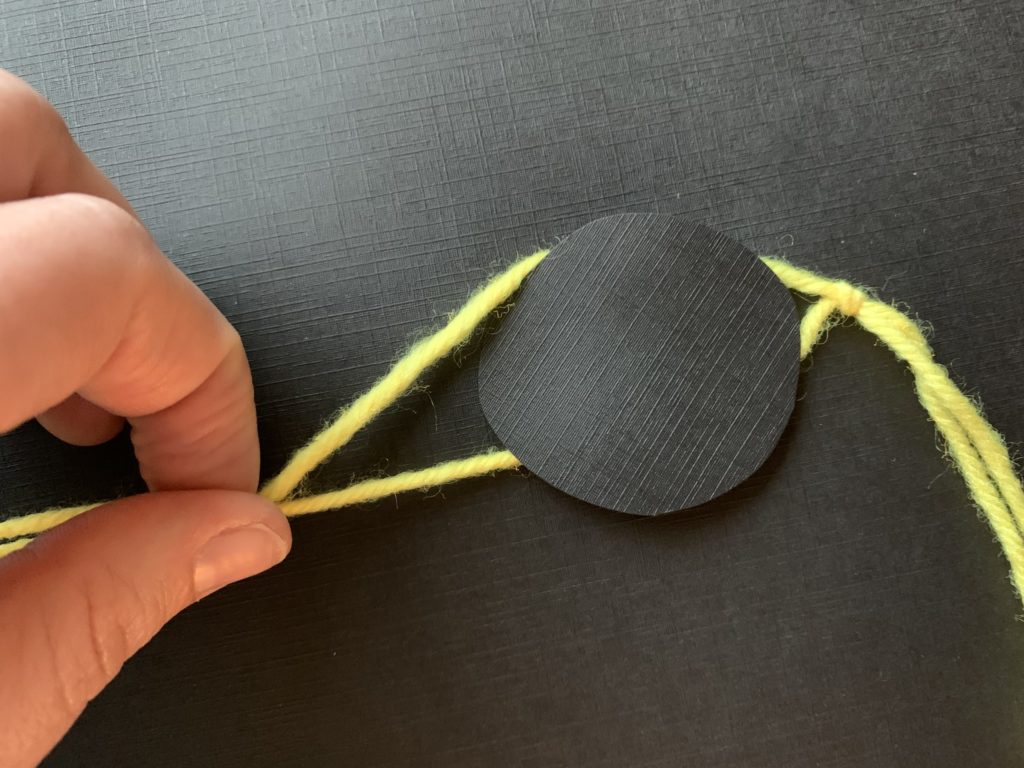
Place that string of yarn through the loop of your tassle then create a knot at the ends of that string.
Take the top of your cap and tie the string around the circle top you made in Step 6.
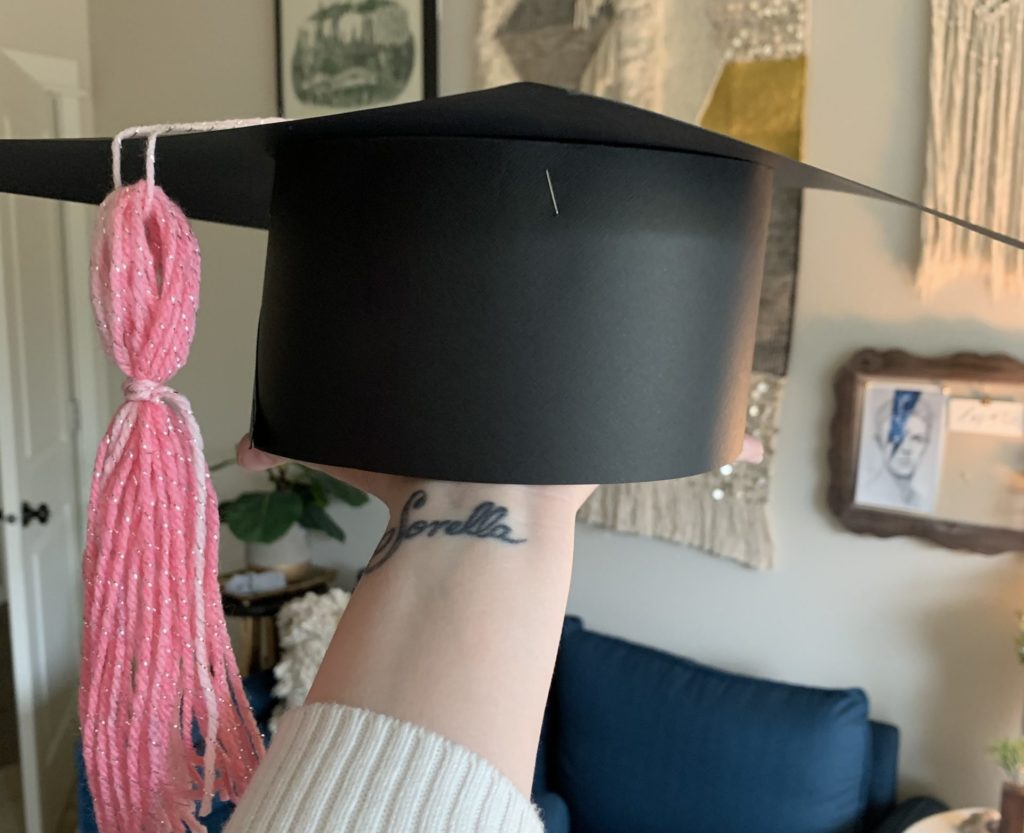
THAT’S IT! You’re all done!
You can add fun decorations to your cap if you like to make it more fun or colorful!
On ours I wrote my kiddos and her classmates names in cursive, and each one got to pick their favorite color for their tassels.
Be sure to share your graduation caps with me in the comments!
Or you can tag me on Instagram @oliveandapron
Here is a video for extra help 🙂

I’m Devan, a mom of 3, a wife, a full-time working mom, business owner, PTA parent, and hyperfixation extrodinare (thanks ADHD).
On my blog you’ll blog posts about DIY crafting, home projects, celebrations, and of course a few recipes. I believe in always learning and growing, and most importantly quality time with friends, family and especially some self care.


comments
Be the first to leave a comment